I am the electronics maintainence chairman for my glider club (Sky Soaring near Chicago). As the club members interests in cross country soaring grew, I was tasked with creating a flight recorder that everyone could use in our club ships. While the club had several mechanical barographs, they were deemed not viable as they were difficult to use and needed to be calibrated once a year. Therefore some form of electronic flight recorder needed to be used. The goals were;
- Simple to use. Turn it on, mount it and forget it.
- Simple to download log files.
- Self contained, self powered and portable for use in multiple gliders.
- Operate for at least 6 hours without an external power source.
- Ruggedized so that normal use by pilots with a variety of skill levels would not easily damage the unit.
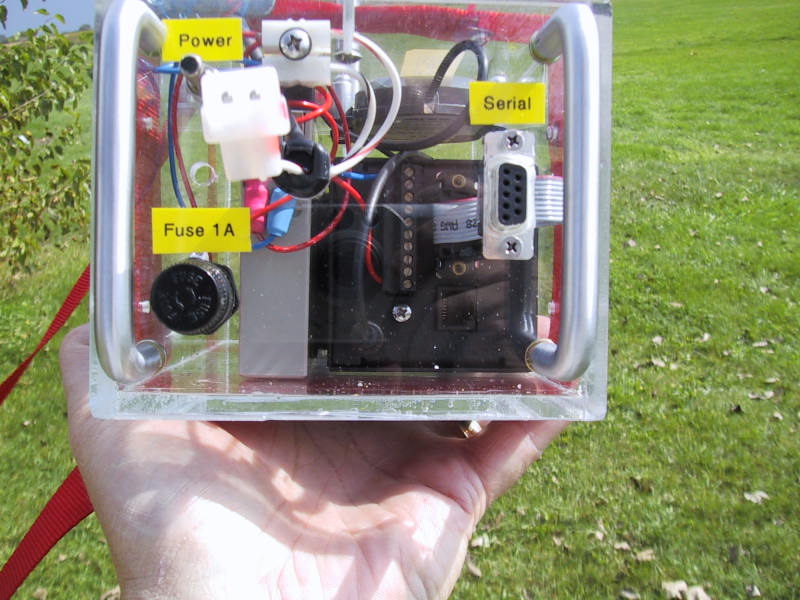
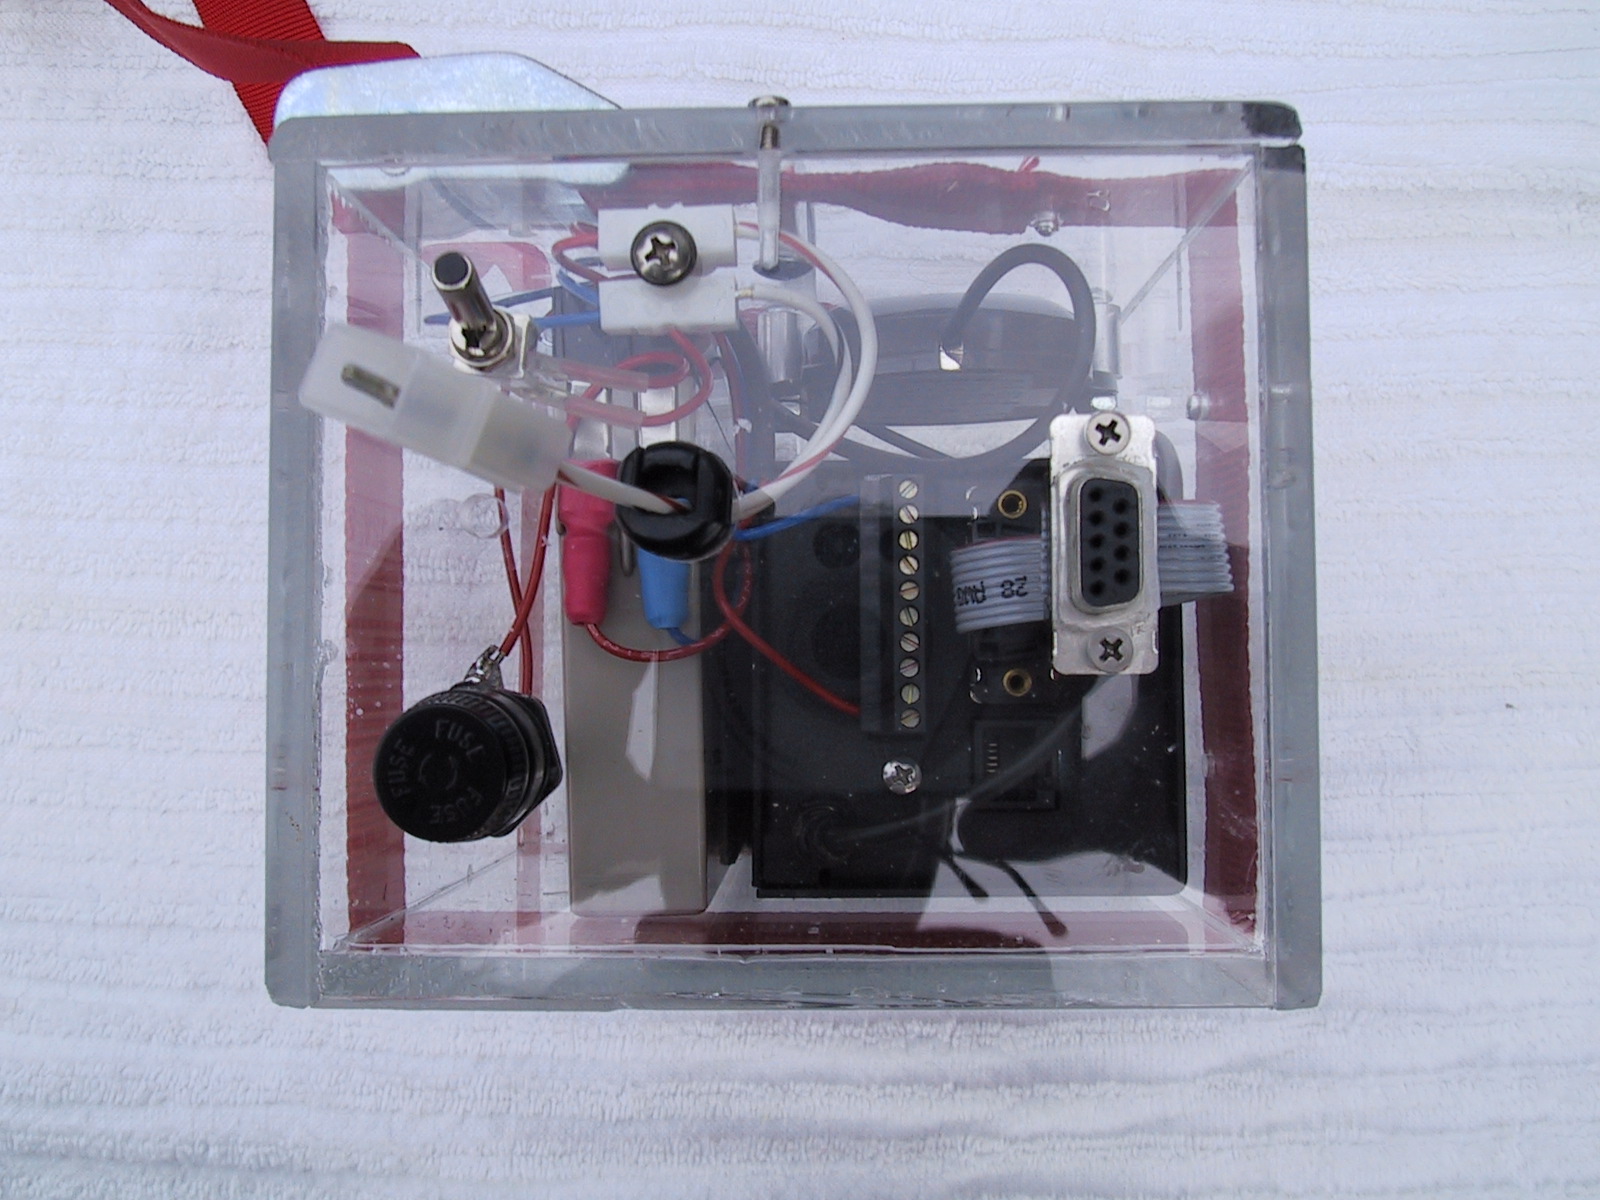
Cambridge 302A My first attempt in 2006 was based on a Cambridge 302A and a small gell-cell lead-acid battery. See the images below. While this worked well it had several drawbacks;
- Fairly heavy.
- Fairly large, therefore difficult to find a secure mounting location. The original clear plastic box shown below is oversized as it was designed to hold a larger rechargeable battery. A planned second version of the case would have reduced the overall size but was never built.
- Battery life was tested and found to be good for 12 hours of use. Charging needed a separate device.
- The Cambridge GPS antenna coax cable is very, very thin and was located inside the box to prevent damage. However, this antenna location did not work well in metal ships as the antenna didn't get a clear view of the sky. This deficiency was to be addressed with an external antenna whose coax was protected but this was never done.
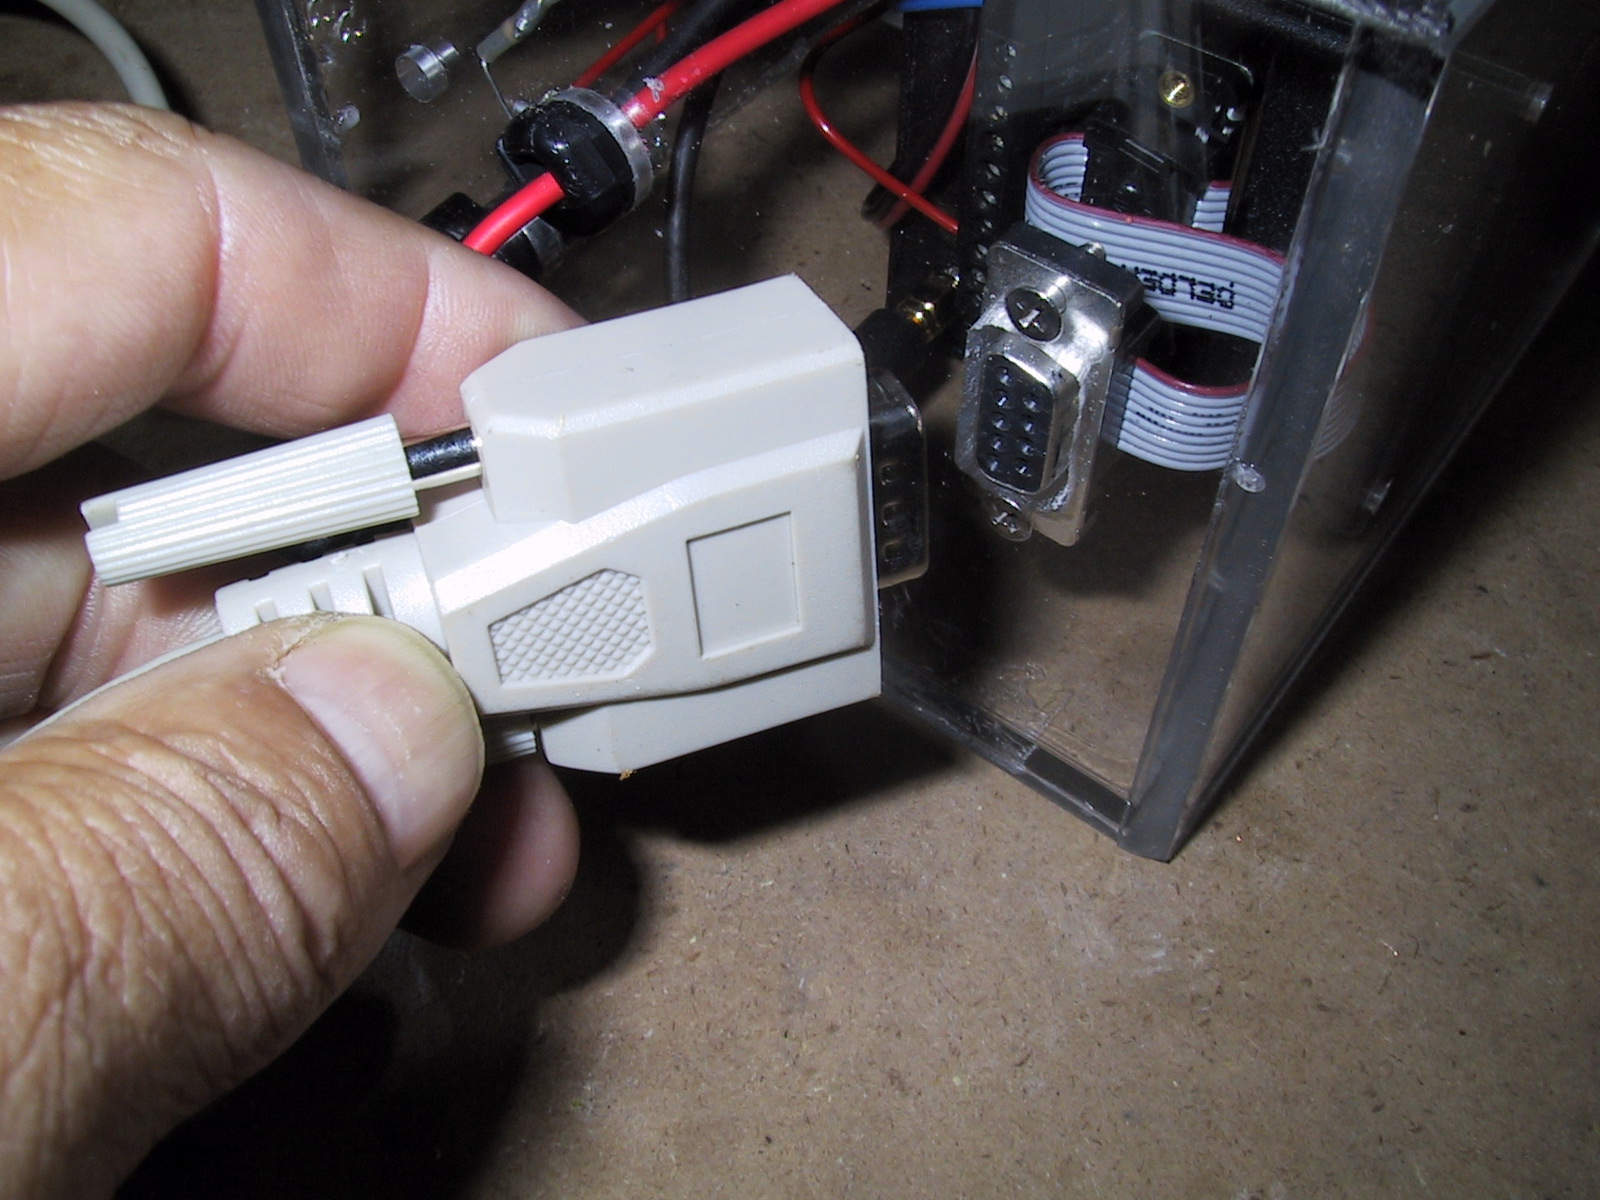
- Downloading the log file is complicated and needed a proprietary software application which was Windows-only.
Please click here to download a copy of the club use manual for the Cambridge 302A.
For more technical details on the Cambridge 302A please see the Cambridge website or the Cumulus-Soaring website.
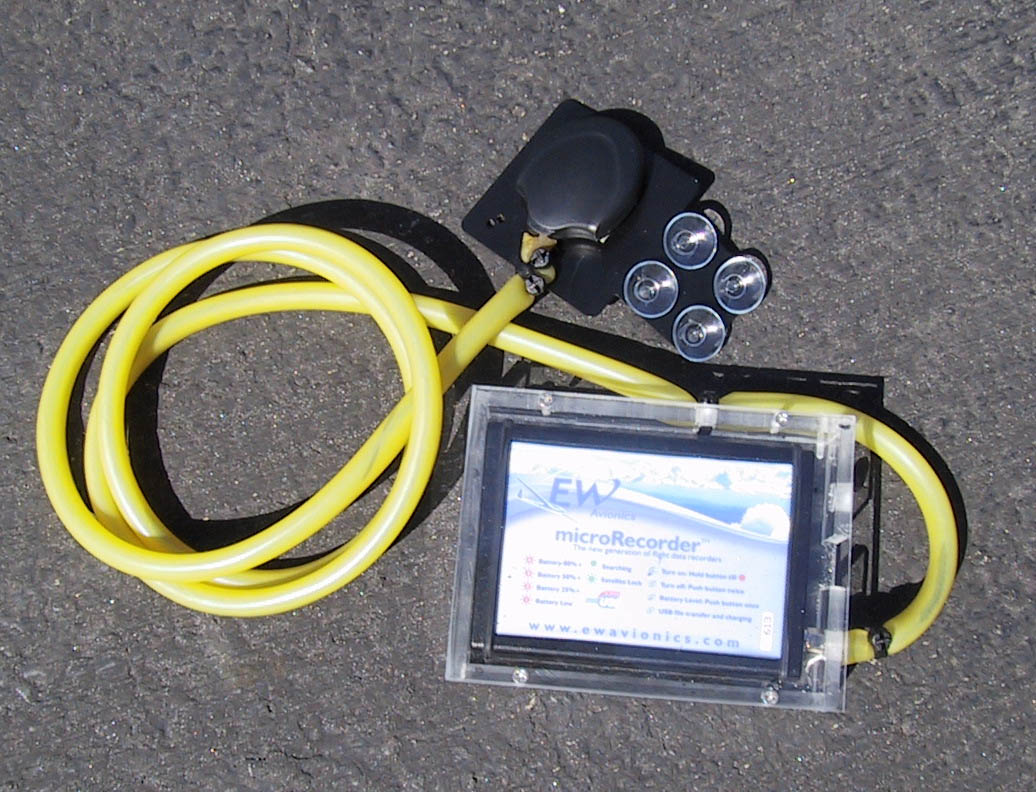
EW Microrecorder My second attempt in 2007 was based on the newly released EW Microrecorder . See the images below. This are several positive attributes to this device;
- Light weight and small and thus easier to mount.
- Internal battery which is purported to be good for 100 hours of use (not confirmed).
- Charges via a USB cable from any computer. There are USB chargers for 110-240 AC and for 12VDC car outlets (found where MP3 players are sold). Very handy.
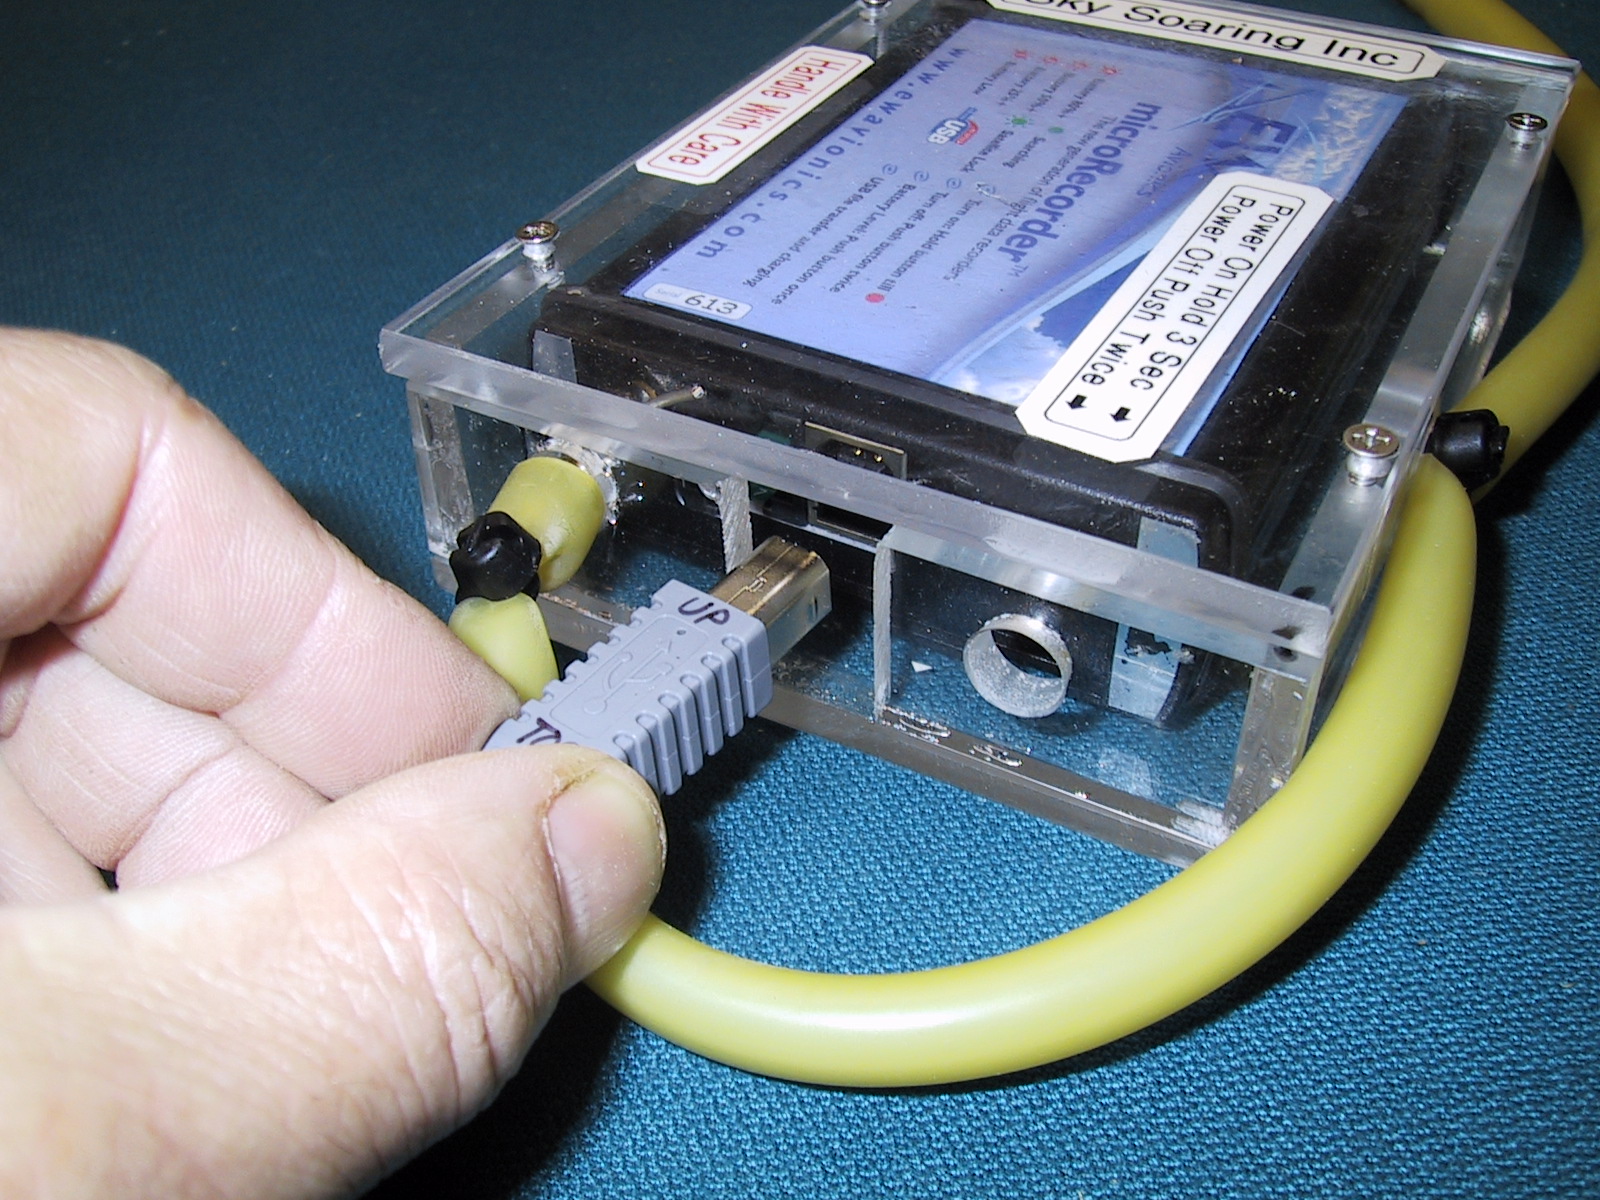
- Easy to download log files via a USB cable. This uses the same concept as a USB "thumb drive" for moving files back and forth. Works with any operating system (Windows, Macintosh, LINUX). See the operating manual for details.
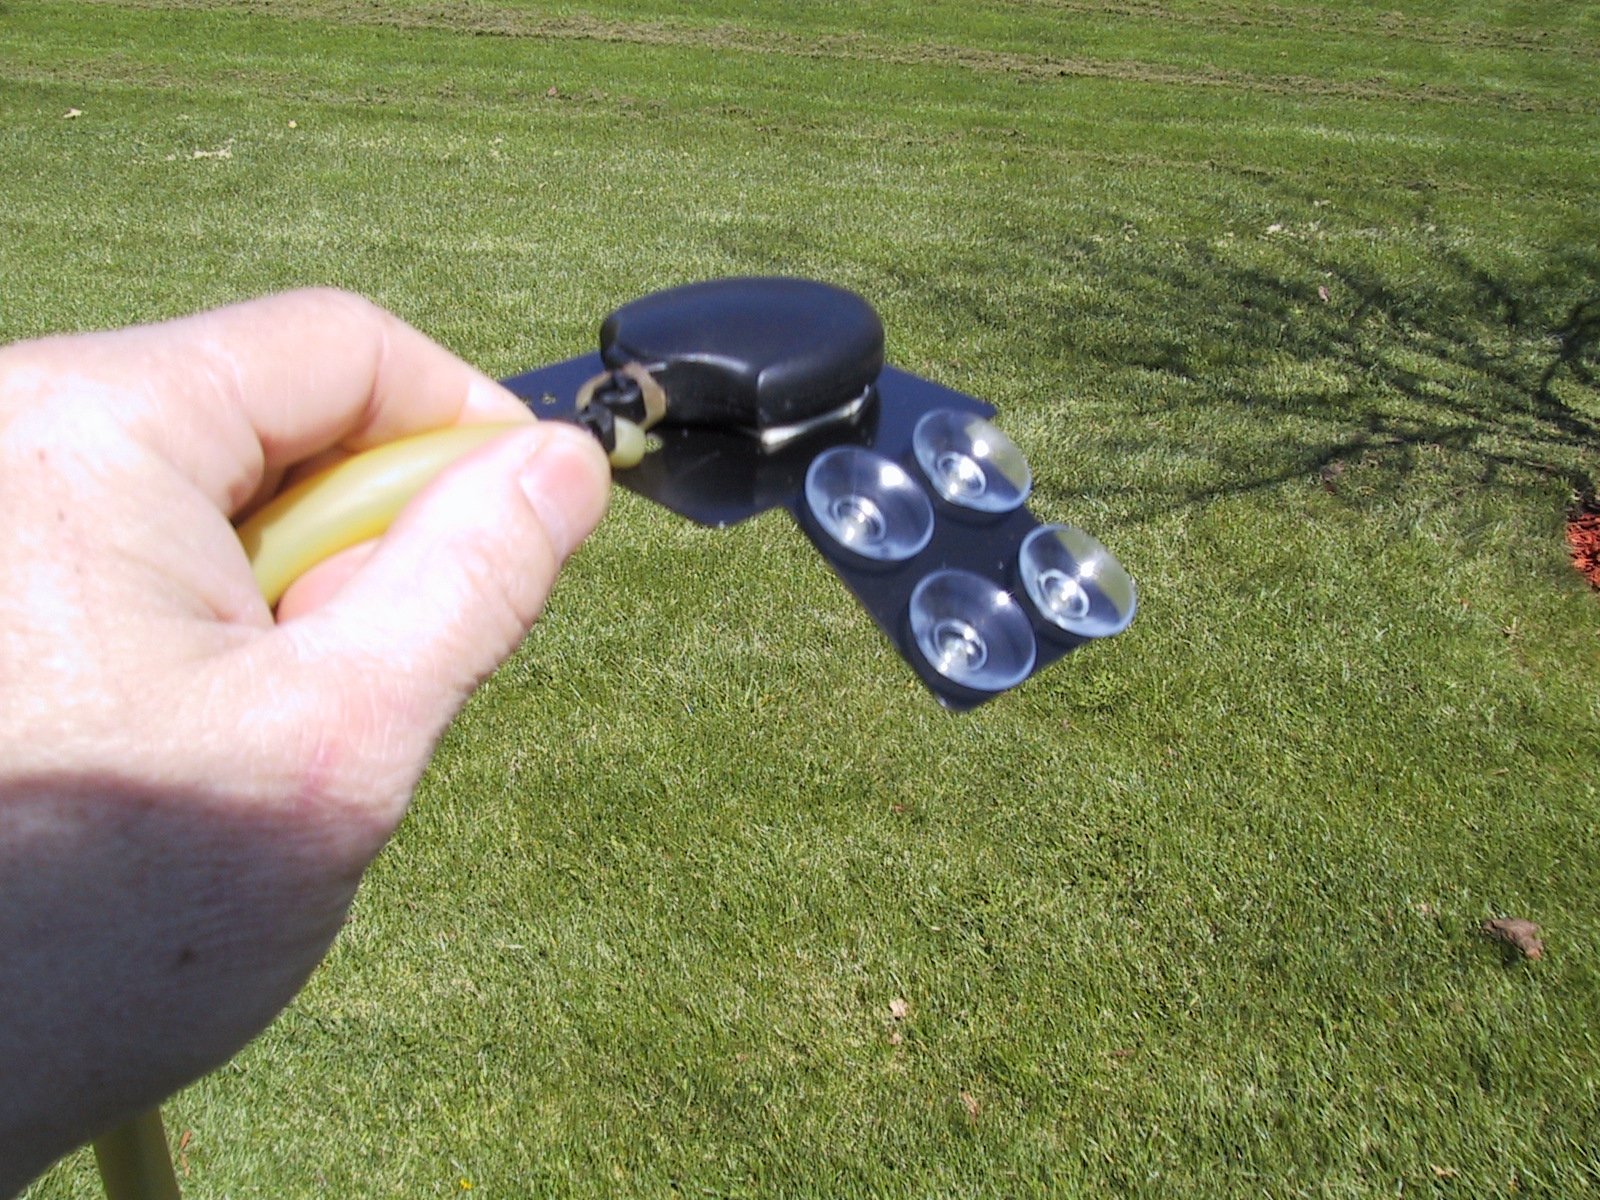
- I opted for an external antenna mounted to a suction cup plate to afford a clearer view of the sky. The EW coax cable is slightly thicker than the Cambridge's. However, I still chose to protect the coax by using surgical quality rubber tubing. There is also a stiff safety wire inserted in the first 10" to further protect the cable and connector.
For more technical details on the EW Microrecorder please see the EW Avionics website or the Cumulus-Soaring website.
Clear Plastic Case Construction
The clear plastic case was constructed to prevent damage from overeager club members. I assume that your club is no different than mine. The project is simple and effective.
Materials - The case is made of 1/4" (approx 6mm) clear acrylic (plexiglas, perspects, lexan, etc) which can typically be purchased from the local hardware store or on-line. Do not use the more easily located 1/8" (approx 3mm) thickness sheets as they cannot easily be bonded. A 36" x 36" (~1m x ~1m) sheet will be quite enough to make several boxes. The panel comes with a protective paper covering which facilitates marking before cutting.
Cutting Acrylic - Cutting acrylic plastics is similar to cutting glass. You score the material and then snapping along a table edge. This will generally leave a smooth edge for bonding. I suggest not cutting with a saw as this will leave a rather rough edge that is difficult to smooth enough to bond properly. Alongside the acrylic sheets you should find an inexpensive specialized scoring knife with a carbide tip. This is drawn along a straight edge to cut a groove (score) in the acrylic sheet which will then break cleanly when bent. The scoring can also be done less easily with a large utility knife. Repeat the scoring 5-10 times. Only score one side. Leave the paper covering in place and cut right through it. Now move the score line to the edge of a table and push downward. The sheet should snap cleanly along the score. Generally the resulting edge is quite smooth and at right angles to the sheet face. If not, then use 400 grit (or finer) sandpaper to smooth the edges making sure to maintain a square edge. Cutting medium to large panels in this way is quite easy. Cutting narrow panels (i.e. for the sides of the smaller box shown above) is more difficult as it will be difficult to gain the necessary leverage. Try clamping the narrow part between your work table and a wooden board. With the larger portion free of the table, you should be able to snap the piece.
A very good video tutorial on this whole process is available here.
Drilling - Acrylic is strong but brittle. Drilling can easily shatter the material or cause chips. There are specialized drill bits for working with acrylic sheets but I have had good luck with standard metal working drill bits. The trick is to run the drill at as high a speed as possible. This basically melts its way through the material rather than cutting its way through. A hole saw can also be used but they leave a rough edge. I have also had success using a forstner bit. The use of a drill press is strongly suggested.
Bonding - Joining two pieces of acrylic with a typical glue will not hold very well or possibly not hold at all - even when using epoxy or "super" glues. I tried several glues intended for plastic model making without any luck. It has something to do with the smooth non-porous surface. Rather I use a solvent (i.e. methyline chloride) which basically "melts" (welds) the acrylic sheets together to form a surprisingly strong and clear bond - the two pieces virtually become one piece of plastic. The best product I have found is "Weld-On" (#3 or #4) by IPS. You will typically not find this "glue" at the local hardware store nor hobby shop. It is available on-line here (among many other places) or at contractor hardware stores. This solvent is a very thin liquid which is either brushed on or injected via a syringe (my preferred method). Carefully align the two pieces and use the syringe to gently squirt a very small amount of solvent into the gap between the pieces. The solvent will easily wick into the gap via capillary action. The bond is amazingly clear and will quickly set up in 5-10 seconds (really!) but wait at least an hour before putting any stress on the parts. The bond gets stronger with age with full strength taking several days. Because the solvent is so thin you will need to tightly reseal the container after each use to prevent evaporation (I use clear food wrap under the cap).
A very good video tutorial on this process is available here. Finally, other information can be found at Tap Plastics.
Other Details
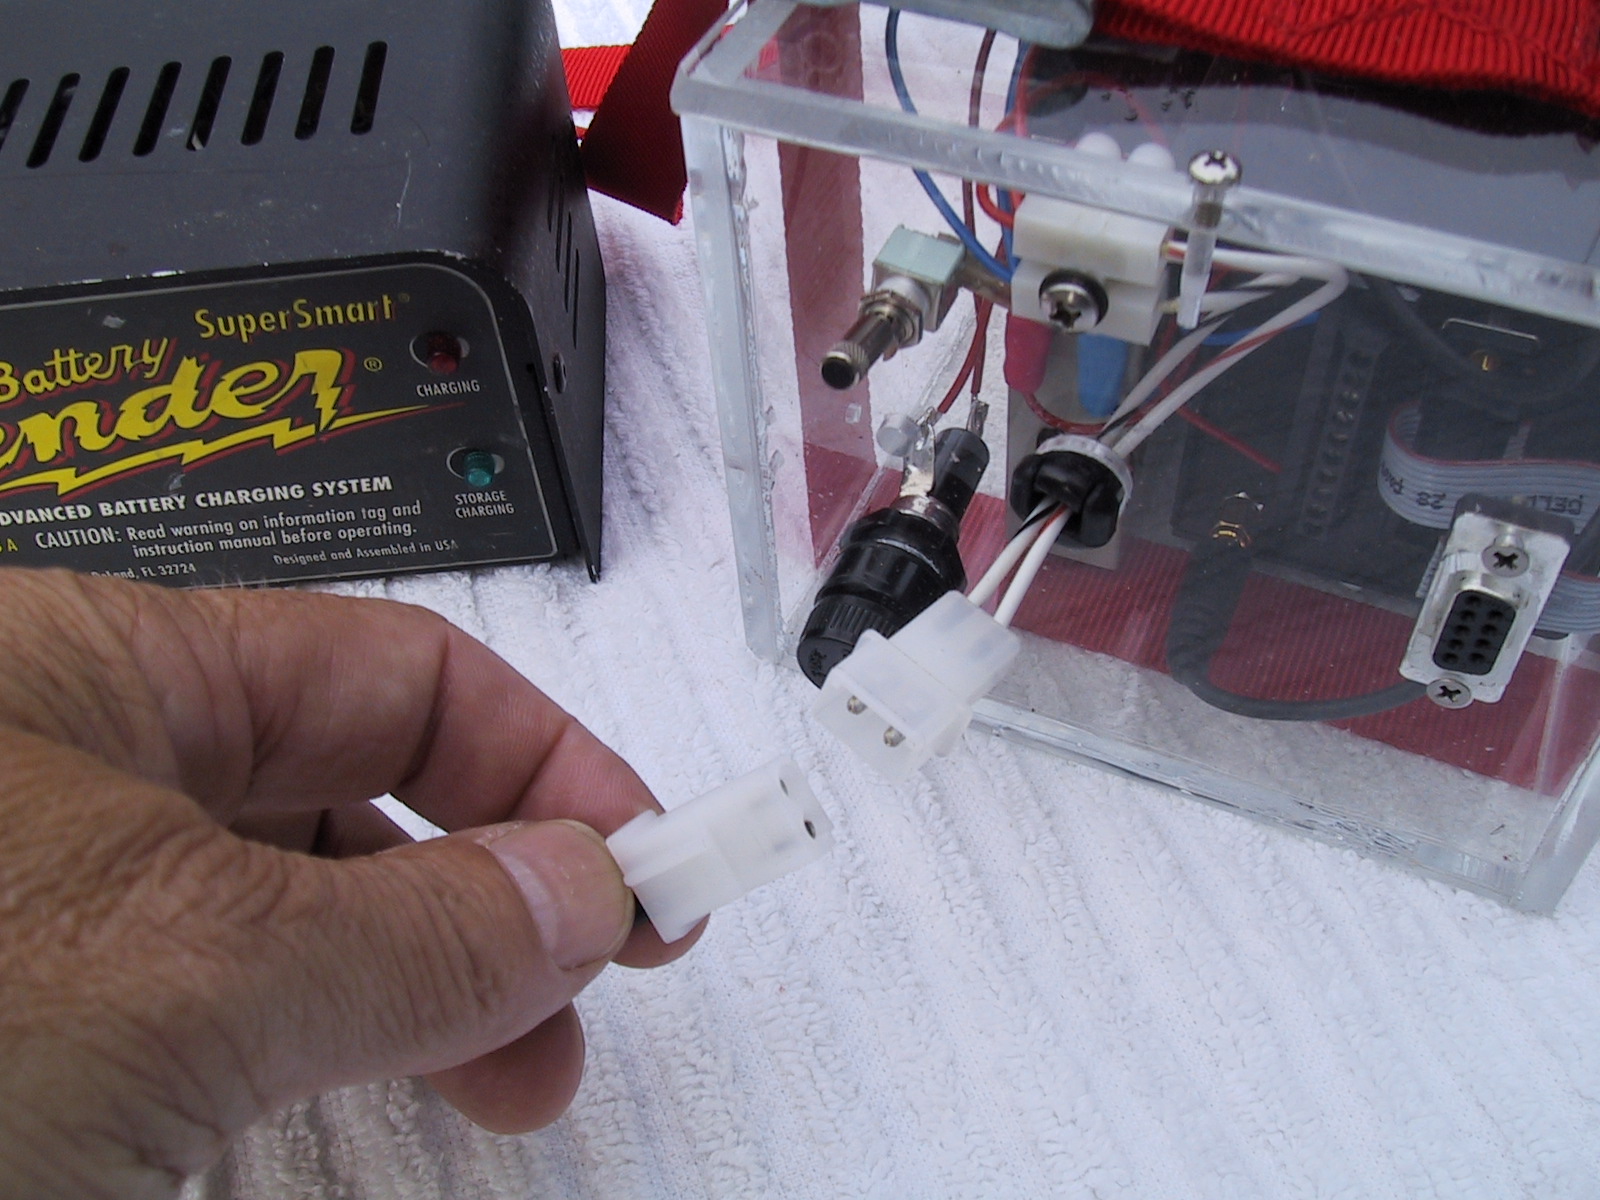
Antenna Coax - The coax may be the most vulnerable link to the entire recorder. As you can see in the images below, the coax from the recorder to the GPS antenna is protected with surgical rubber tubing. This was purchased from a medical supply store. Getting the coax connector through the smaller diameter hose was tricky. I attached some small diameter aviation safety wire to the connector, inserted the wire into the tubing and then pulled. To help the process, I lubricated the inside of the tubing with a electrical wire pulling "grease" found in most hardware stores. This is specifically made to not harm the covering on cables. To further protect the coax at the fragile junction with the connector, I inserted 10" (25cm) of large diameter stainless steel aviation safety wire into the tubing and into the box where it is bent over for retention. The tubing is then held in place with nylon wire ties (I use Thomas & Betts "Tyrap" brand).
Cover - The cover is removable so that the recorder can be removed for repair. For calibration I suggest sending in the whole unit, box and all. The cover is attached with 4-40 flat head stainless steel screws. The receiving holes are tapped to provide the threads. The thick acrylic takes a machine tap quite well. Another simpler option would be using a long cable tie or two around the whole box.
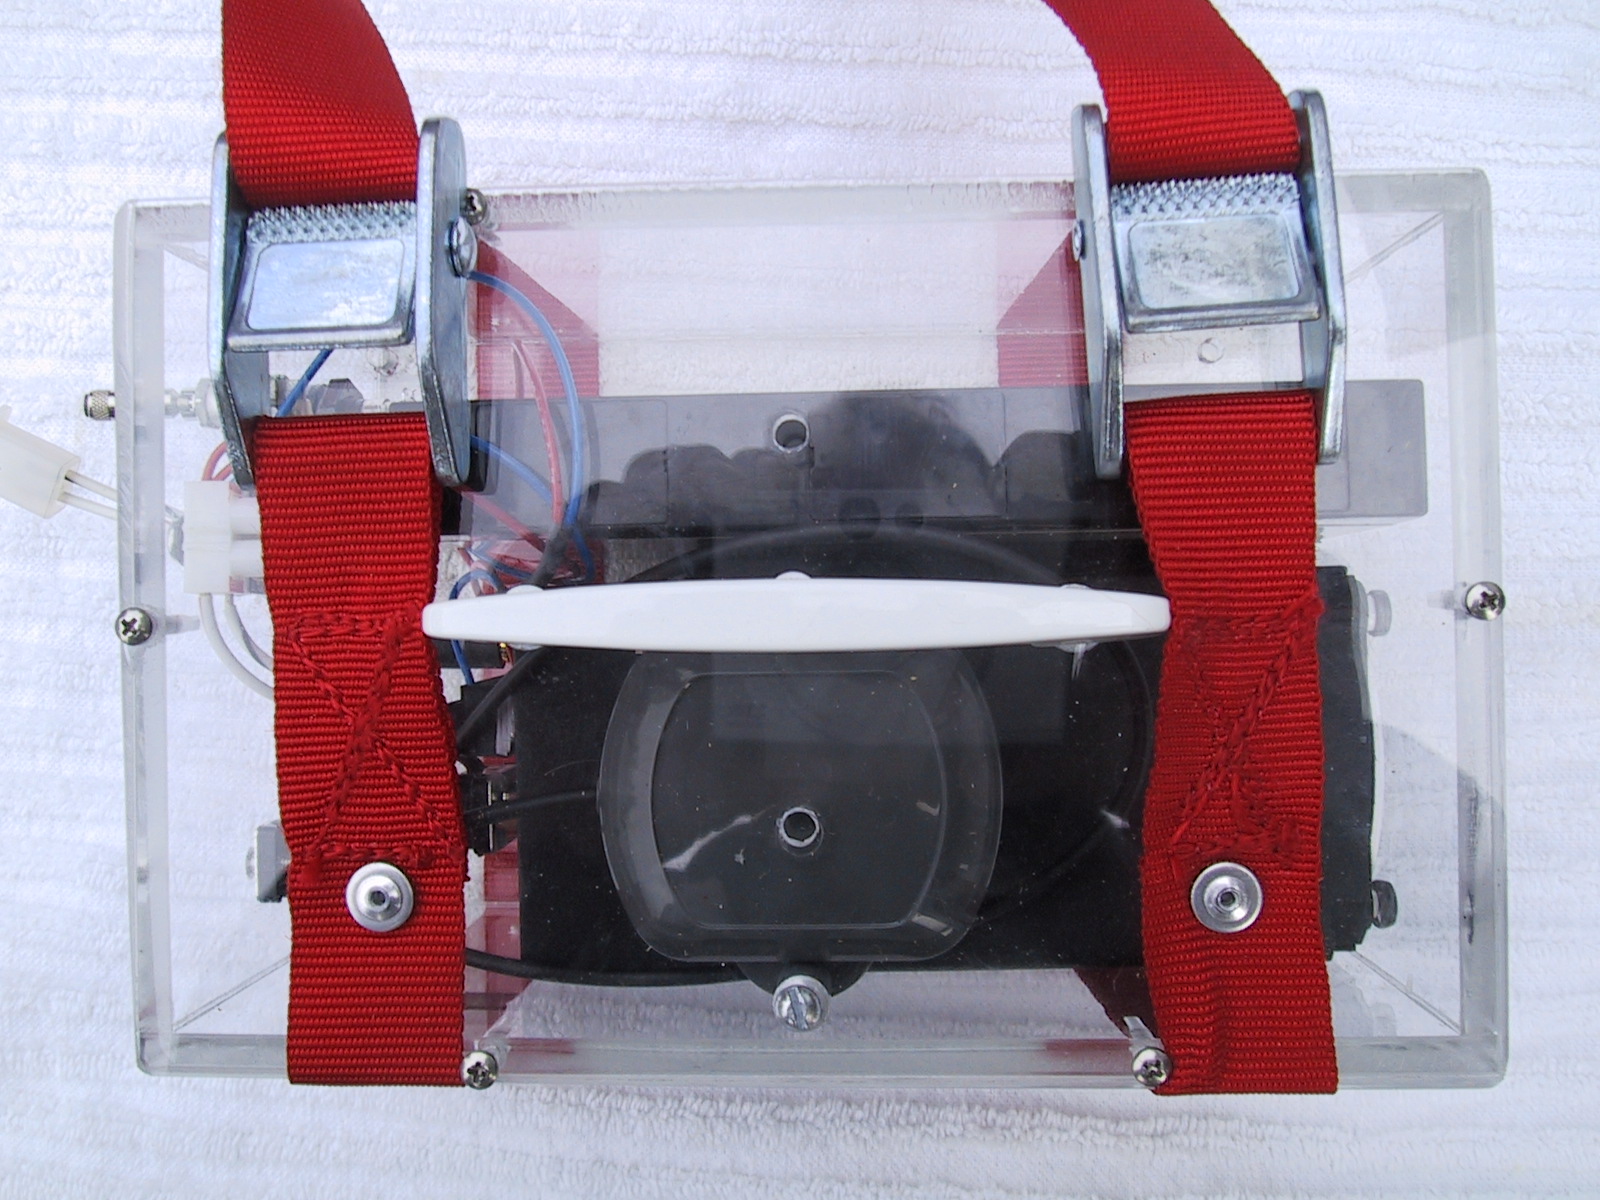
Antenna Mount - The suction cup antenna mount was purchased from Cumulus Soaring. The antenna is permanently held onto the mount with foam backed double faced tape. A less-permanent method is to use velcro.
Send email to john@derosaweb.com with any questions or comments.
Click on the images below to enlarge.
Cambridge 302A Club Flight Recorder


EW Microrecorder Club Flight Recorder